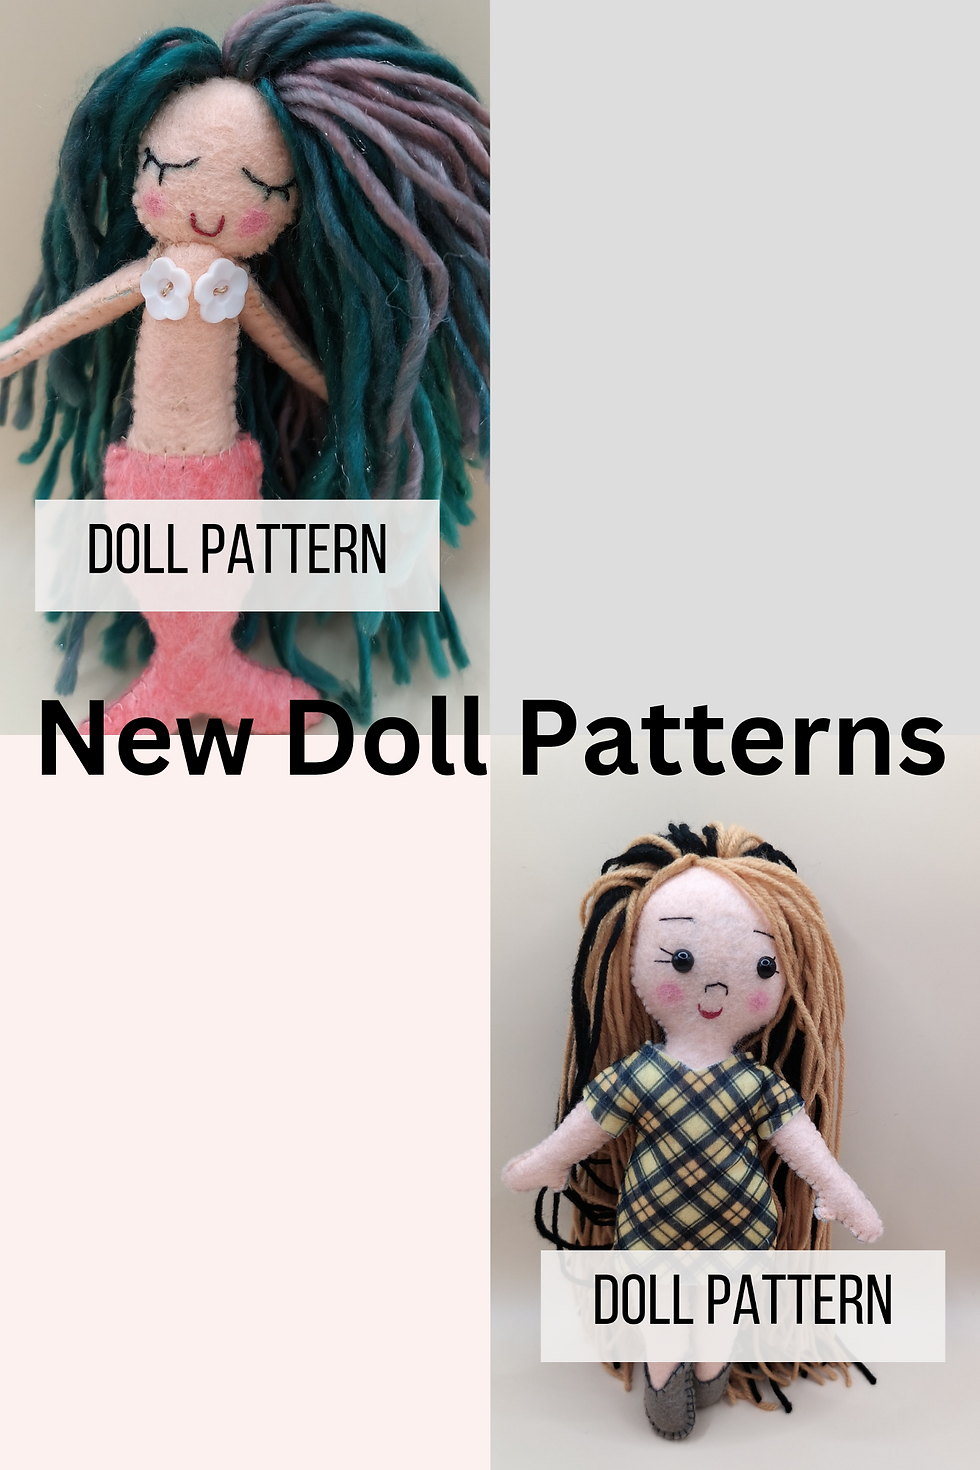
6 Tips For New Doll Makers
- LuParis

- Jun 24, 2024
- 3 min read

When first starting out, doll making and sewing in general can seem overwhelming. The truth is that sewing and doll making are easier than they look. Here are a few tips that personally helped me when I was starting out.
1) You Don't Need A Lot To Get Started
To start out, you really only need a needle, thread, a project idea or template, and the fabric material you plan to work with. You can find some sewing kits online at places like Amazon that have needles, a measuring tape, and a few other bits and bobs in them. That's fine to get, but you really only need the needles at first from the kit and as you move into more complicated projects you'll probably use the measuring tape. Which leads me to number two...
2) Start Small And Cheap
When planning a first project, find a free one on the internet. Pinterest has plenty of free patterns for you to try out. Remember, the goal at the beginning of every new hobby is not to master it as quickly as you can. The goal is to see if you actually enjoy it. Therefore, at the beginning try not to spend too much cash and just see what the Internet has to offer for free. And instead of shelling out the money for expensive materials to work with, use old T-shirts or bed sheets or acrylic felt at first for your first few projects. If you're going to buy a sewing machine, there's no need to get a top of the line model yet. Just a small one that's capable of a few basic stitches is all you need at this early point.
3) Get Hemostats
I know I said you only need a few things to get started, but one useful item that you might want to invest in even at this early stage would be a hemostat. It's a game changer when it comes to stuffing your dolls and turning pieces right side out. Stuffing tiny pieces by hand can be hard. A hemostat is perfect for maneuvering the stuffing where you need it to go. They are also reasonably priced on Amazon for how much you will probably be using them.
4) Stuff Firmly
This always seems to be a tough step for new doll makers, myself included: Stuffing the doll. If you don't stuff your doll firmly enough, the doll will be floppy and limp. Stuff your doll too much and you might burst seams. I always double thread my needle and I rarely have a burst seam no matter how firmly I stuff. Double threading my needle changed doll making for me because I didn't have to constantly go back and repair busted seams when stuffing my doll. An additional tip: If the body and head are connected on your doll pattern, sew a tiny pipe cleaner into the wrong side of your doll's neck if using felt. It will help keep the head stable, even if you stuff the neck firmly.
5) Learn These Stitches
Blanket stitch, whip stitch, ladder stitch, back stitch, straight stitch, satin stitch, and applique stitch: These are all stitches that I use regularly or semi-regularly. If using felt you'll probably be using blanket or whip stitch to sew around the pieces of the doll body. If you're hand sewing other fabric, you'll probably be using a lot of back stitches. Either way, you'll likely be using ladder stitch to connect the pieces of the doll together. Straight stitch and satin stitch are useful for embroidering the doll's face. And I use applique stitch to add things like pockets and other decorations to doll clothes. There are a lot of stitches out there, but these are the ones you should practice with on a scrap piece of fabric before actually trying them out on your first doll.
6) Use Cotton Or Acrylic Yarn
If you're going to use yarn for the doll's hair, use cotton or acrylic yarns. Both can be sewn through with your needle, although acrylic yarn is easier to sew through. But cotton yarn tends to be cheaper. I tried polyester yarn one time and...never again. I couldn't sew through it at all and it was too bulky for my doll's head. Speaking of bulky, unless you're making a larger doll or plan to brush out the yarn, I recommend not going too chunky with the yarn hair. It could be too much for your doll's head, even if you have a pipe cleaner or other wire sewn into her neck.
There you have it: Six tips for new doll makers! I hope you enjoyed the list and leave me a comment with any of your own personal doll making tips or tricks.
As usual, here's the link to my Etsy shop where you can check out my OOAK dolls and doll patterns: https://luparisdolls.etsy.com


Comments